Messages Area - Writing and Sending Messages in ConvyAI Agent Desktop
Overview
The Messages Area is the part of the Chat Section where you read and write messages. It is divided into the SLA bar at the top, the message history, and the text input tools at the bottom.
SLA progress bar
If your queue has an SLA (Service Level Agreement) configured, a progress bar appears at the top of the Messages Area. It shows how much time remains before your response time target expires.

- The bar resets each time a new message is received from the customer.
- The bar is only visual - you can still reply to the customer even after it expires.
- Average response times are tracked and visible in the Reporting Area.
Previous messages
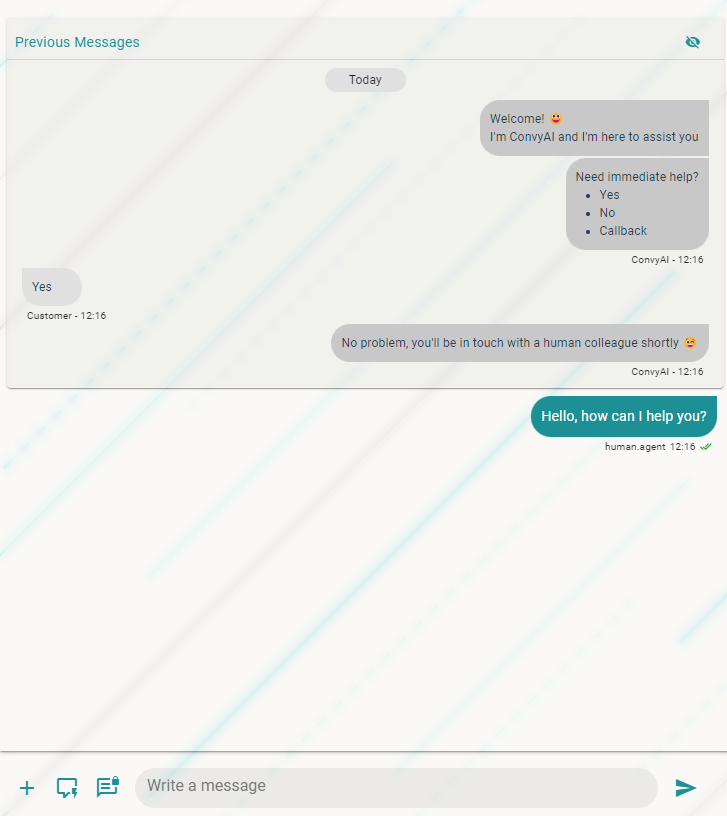
This section shows the conversation history from before the task was assigned to you - messages exchanged between the customer and the bot or any previous agent.
Use this history to understand the customer's issue without asking them to repeat themselves.
- Click the eye icon on the right to expand or collapse this section.

Current messages
Below the previous messages section, this area shows the live exchange between you and the customer.
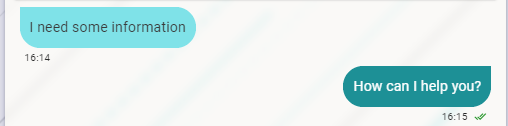
- Customer messages appear on the left, in light blue.
- Your messages appear on the right, in green.
- The time each message was sent is shown below the bubble.
Text input and tools
At the bottom of the Messages Area, you have the text input field and a set of tools for composing your reply.

Files and emoticons
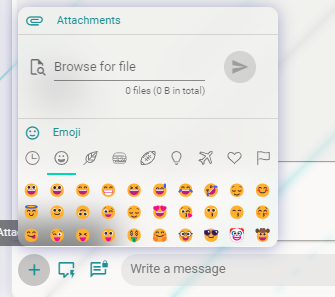
- Click the file icon to browse and attach documents, images, or other files to your message.
- Click the emoticon icon to open the emoji picker and insert an emoji.
- You can also drag and drop files directly onto the chat area to attach them.
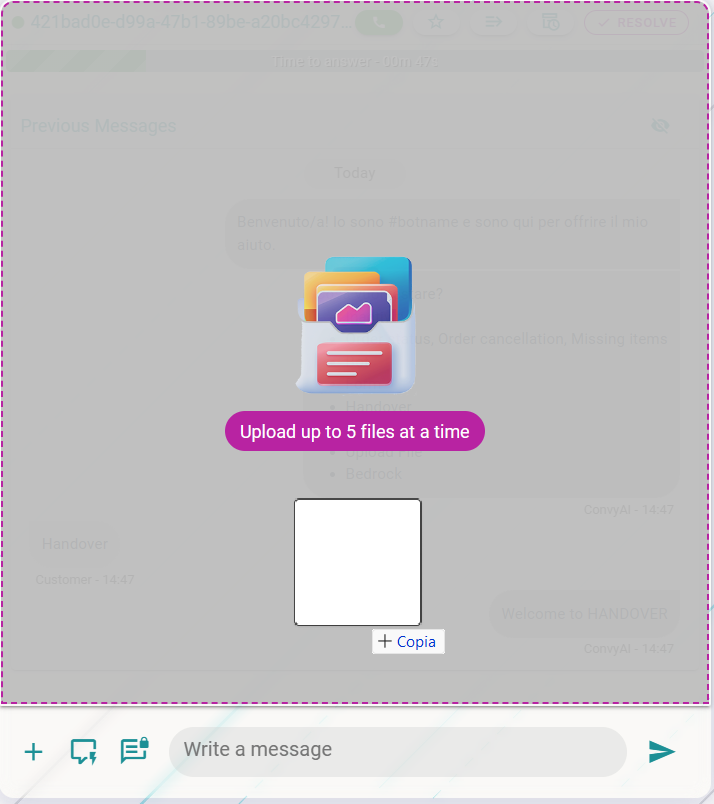
- You can also copy and paste files or images. A list of pending attachments appears before you send.
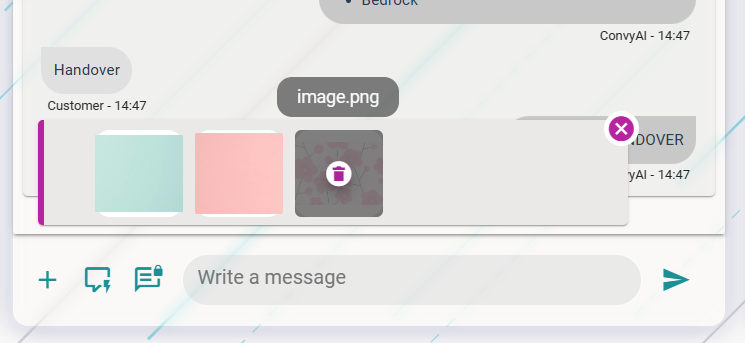
The maximum attachment size is 50 MB per file. All documents are scanned by an anti-malware service before delivery.
Shortcodes
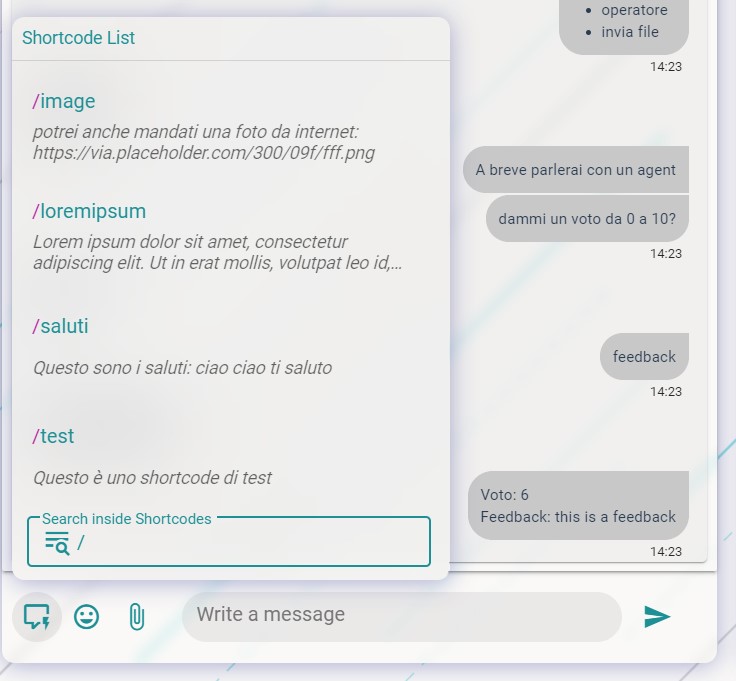
Shortcodes are predefined text blocks configured by your administrator. Use them to quickly insert standard responses without typing them from scratch.
Two ways to use shortcodes:
- Click the shortcodes button in the toolbar to open the panel, then select the one you need.
- Type
/directly in the text area to trigger the shortcodes search inline.

Private notes
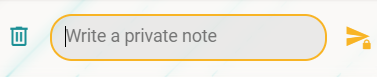
Private notes are messages invisible to the customer. Use them to add internal comments or context to the conversation. Private notes are visible to anyone who accesses the conversation in the Reporting Area.
To write a private note:
- Click the private note button (padlock icon).
- Type your note.
- Send it as you would a normal message.

Mentions in private notes
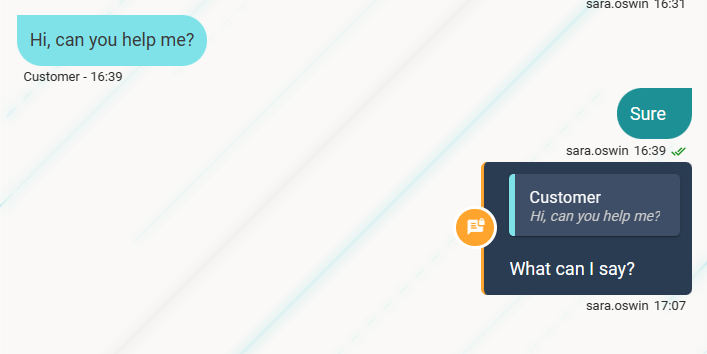
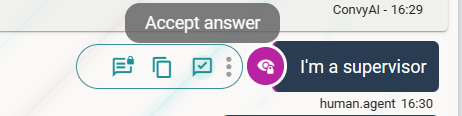
You can mention any message within a private note to add context and avoid misunderstandings. This works for both agents and supervisors.
Accepting a supervisor suggestion
If a supervisor writes a private note suggesting a reply to a customer request, you can accept the suggestion and optionally edit it before sending it to the customer.
Text area and send button

Type your reply in the text area. There is no character limit. Click the Send button on the right to send the message.
Copy to clipboard
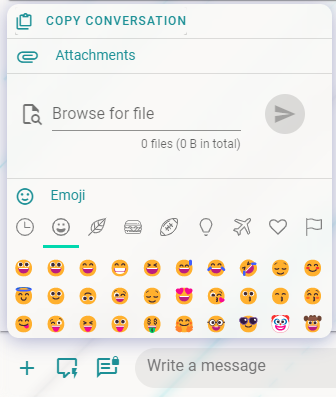
If this option is enabled for your account, you can copy the entire conversation (including attachment links) to your clipboard with a single click. All documents are scanned by the anti-malware service before being copied.