Audio, Video and Screen Sharing - Calls in ConvyAI Agent Desktop
Overview
Depending on your queue configuration, you can initiate or receive audio and video calls directly within a conversation. The chat remains active during the call - you can still send messages and files while on a call.
Audio and video call features must be enabled by your system administrator. If the call button is not visible in the Chat Section, this feature is not available for your account.
Initiating a call

Click the Call button in the Chat Section top menu to send a call request to the customer.
- The customer receives the request and can accept or reject it.
- If rejected, the call ends but the chat session continues normally.
- If accepted, audio is activated immediately. Video must be enabled manually.
An agent can only have one active call at a time.
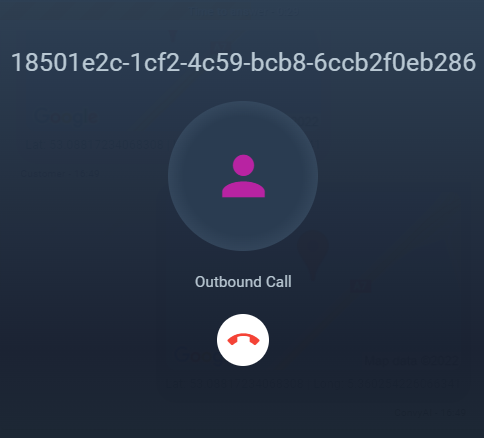
Accepting an incoming call
If a customer initiates a call, you hear a sound alert and two buttons appear:
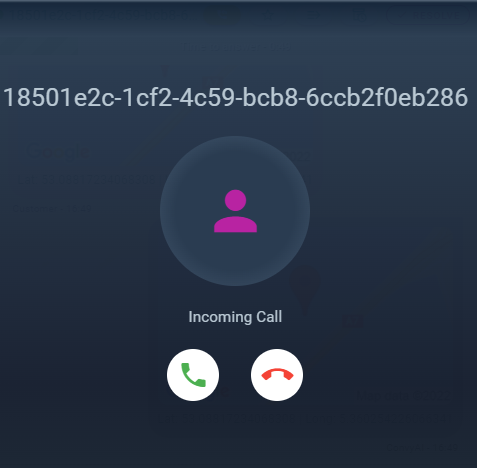
- Click the green button to accept the call.
- Click the red button to decline it. The chat session is not affected.
If the incoming call is from a customer you are not currently viewing, a minimized management panel appears so you can still control the call.

Call management panel
Once the call is established, the call management panel appears above the Messages Area.
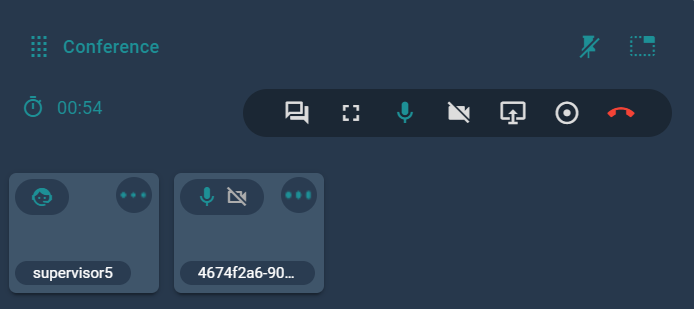
Lock/Unlock the panel

The panel can be locked to keep it pinned to the top of the Messages Area, or unlocked to reposition it.
Minimize the panel

Click the minimize button to pin the panel to the top-right corner in a compact mode.

Click the expand button to return to the full panel view.

Call duration

The call duration timer shows how long the call has been active.
Call controls
Move to conversation

If you have navigated away from the conversation during a call, click this button to jump directly back to the customer's task.
Fullscreen

Expands the video call to fill the entire screen.
Enable/Disable Audio

Toggles your microphone on or off.
Enable/Disable Video

Toggles your camera on or off.
Enable/Disable Screen Sharing

Click to start or stop sharing your screen with the customer.
Hang up

Ends the call. The chat session and task remain active after hanging up.
Start Recording

Click to start recording the audio/video call. Click again to stop recording.
Change Device

Opens a menu to select which microphone, speaker, and camera to use for the call.
These settings only affect your own devices. You cannot change the customer's microphone, camera, or speaker.
Participant information

At the bottom of the call panel, you can see a list of participants in the conversation and whether each person has audio or video enabled.
Customer video and screen sharing controls
When the customer has video or screen sharing active, two additional buttons appear:

Take Screenshot

Captures a screenshot of the customer's video stream or screen sharing.
Picture in Picture

Moves the customer's video to a separate popup window, allowing you to keep it visible while working in other parts of the application.