Comet - Quick Tips and Call Variables
How to Create an Agentless Campaign
In an agentless campaign no agent is involved - the customer interacts with an IVR or automated flow. By default, Comet marks all contacts as Disconnected because no agent handled them.
To mark specific contacts as Handled (e.g. when a customer completes a survey), add a Set Contact Attributes node in your Amazon Connect Contact Flow at the point where you want to flag the contact as successful.
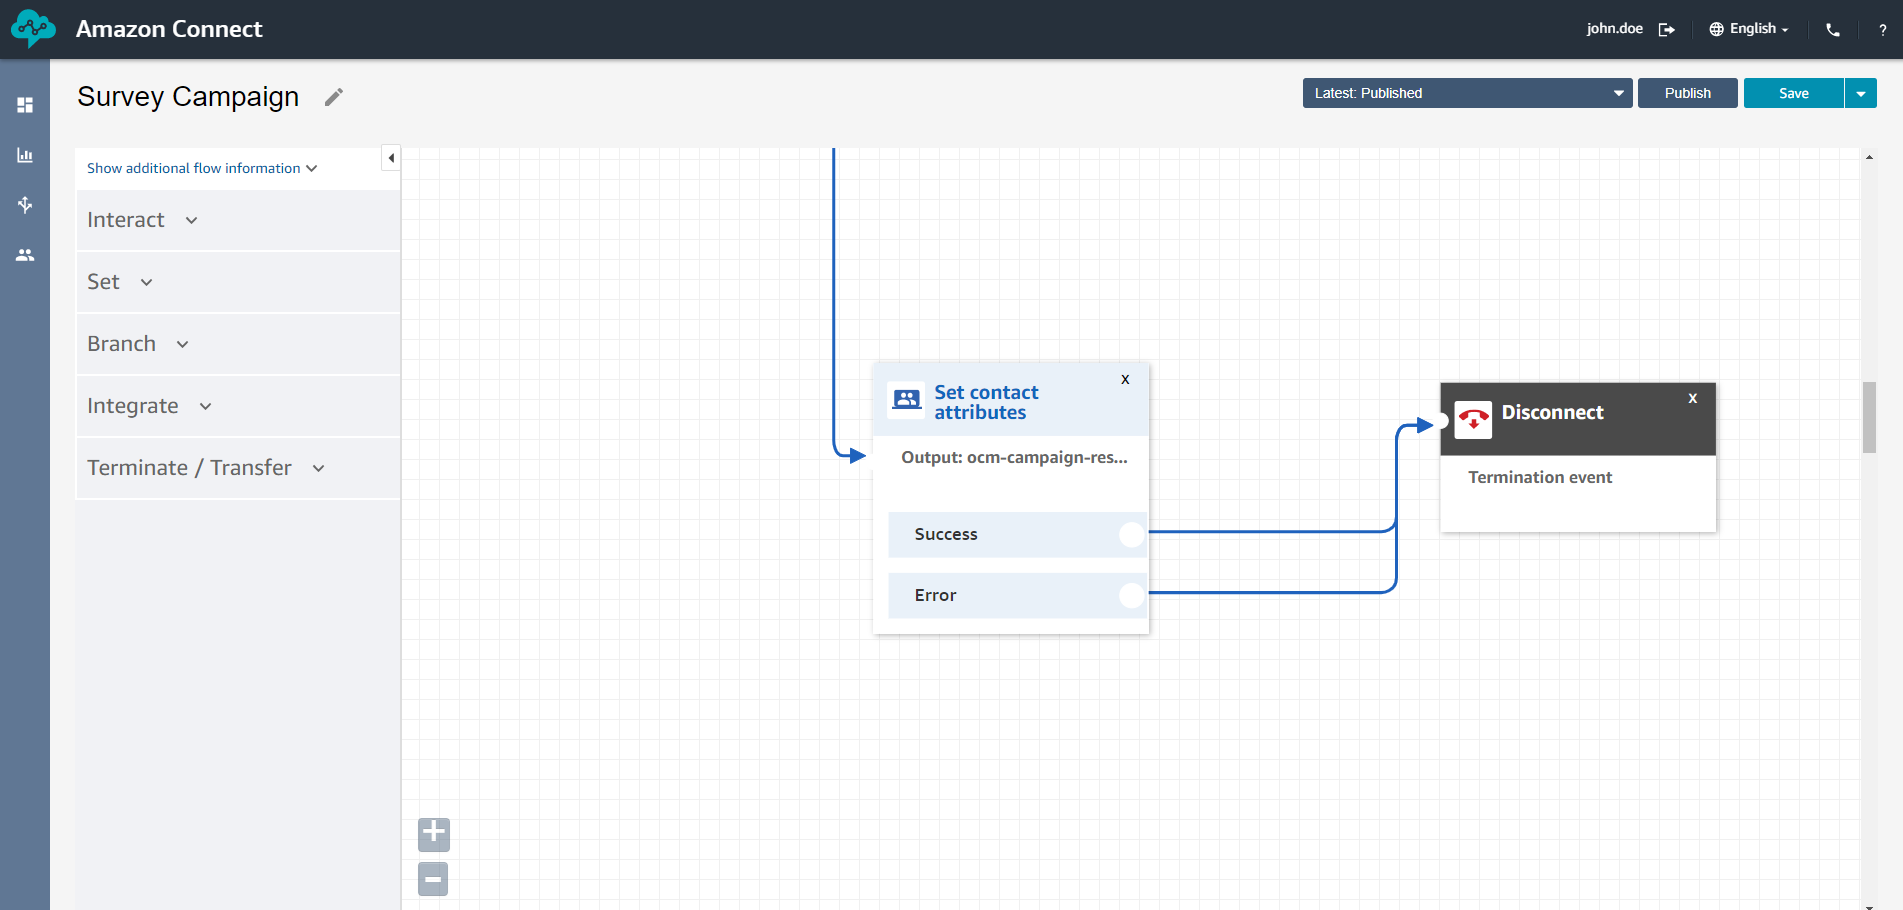
In the node configuration:
- Destination Attribute:
ocm-campaign-result - Value:
HANDLED

Any contact that reaches this node in the flow will be reported as Handled in Comet Reports.
How to Set Campaign Disposition
If campaign dispositions are configured, agents can set the disposition for a contact directly from the CRAB Registry gadget during or after the call.
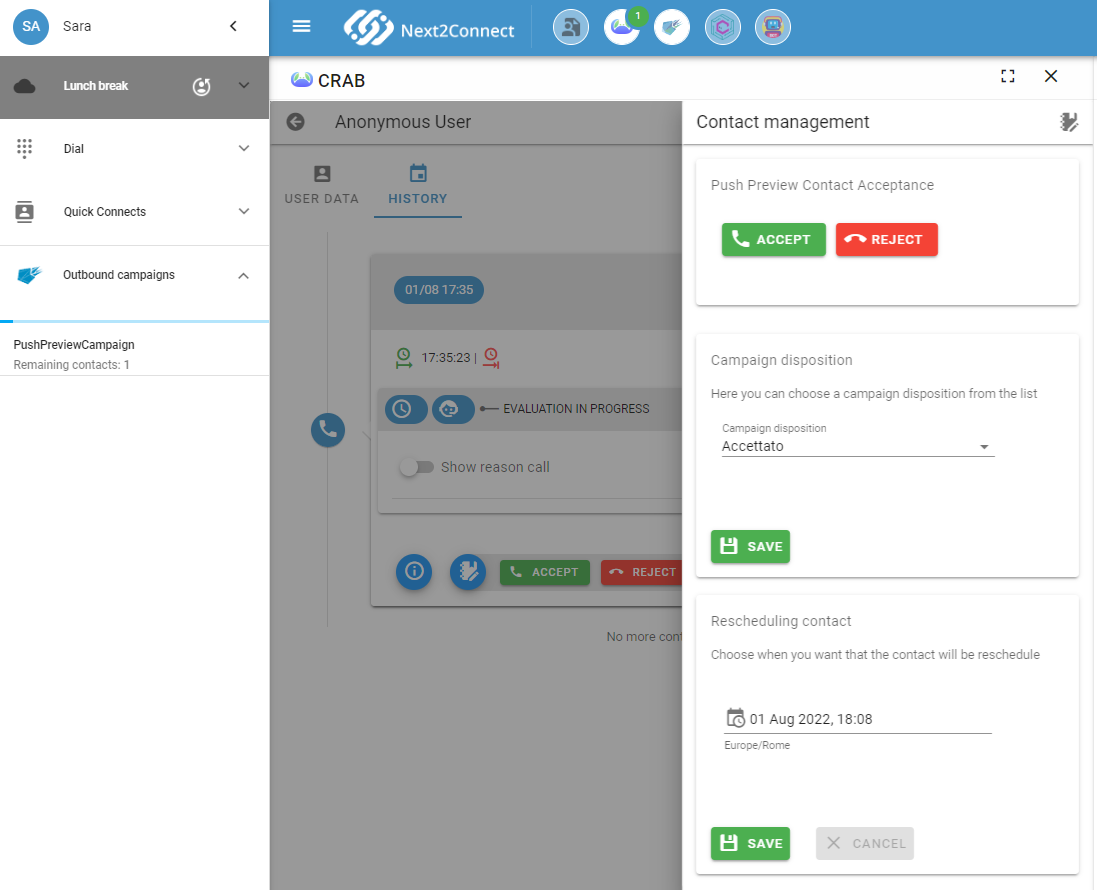
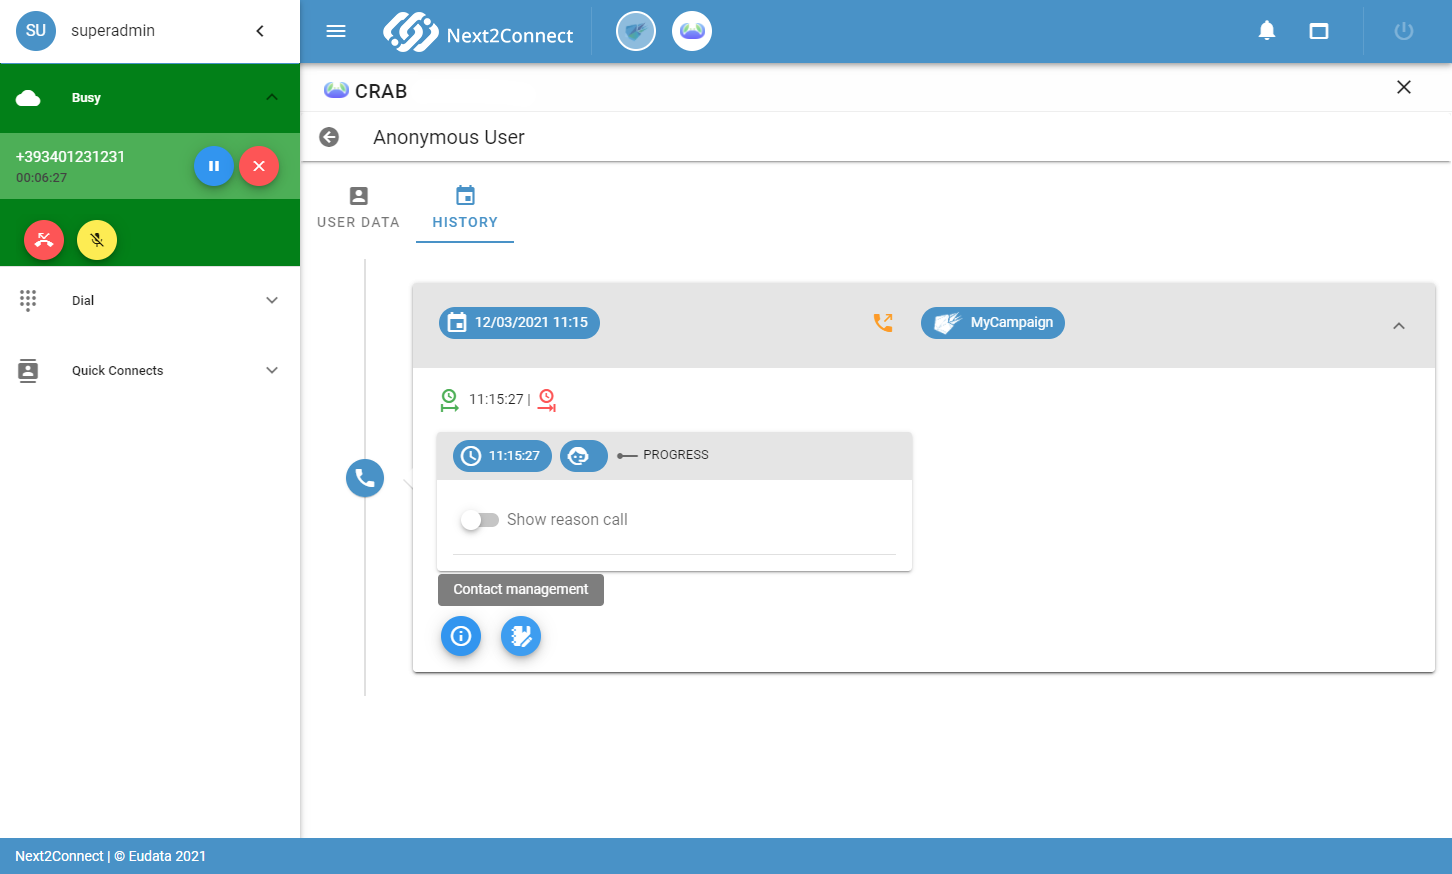
In the CRAB gadget, open the contact's History tab and click Contact Management.
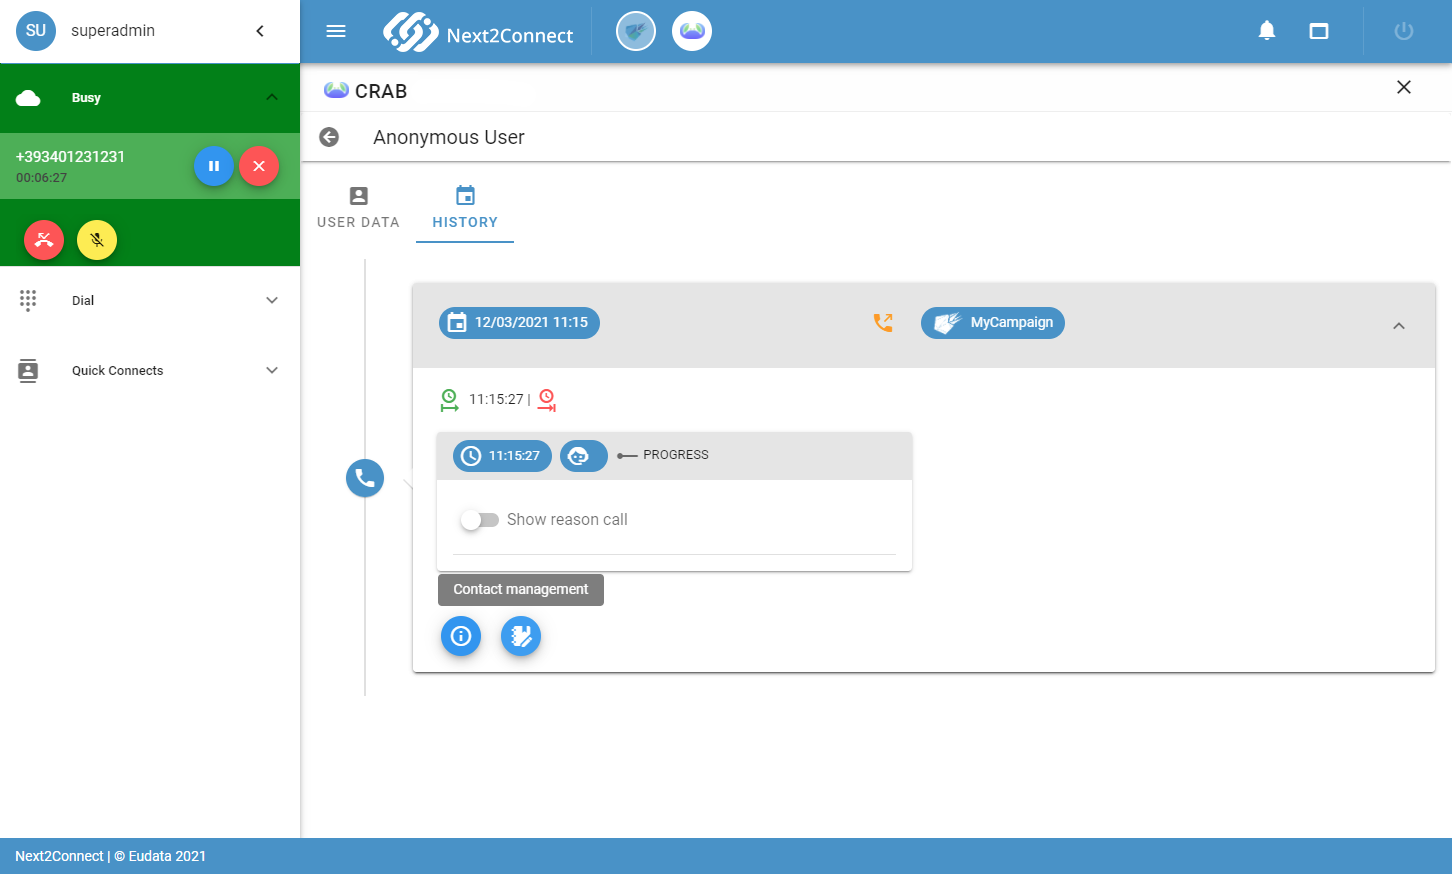
A modal opens where you can select the campaign disposition for the contact.
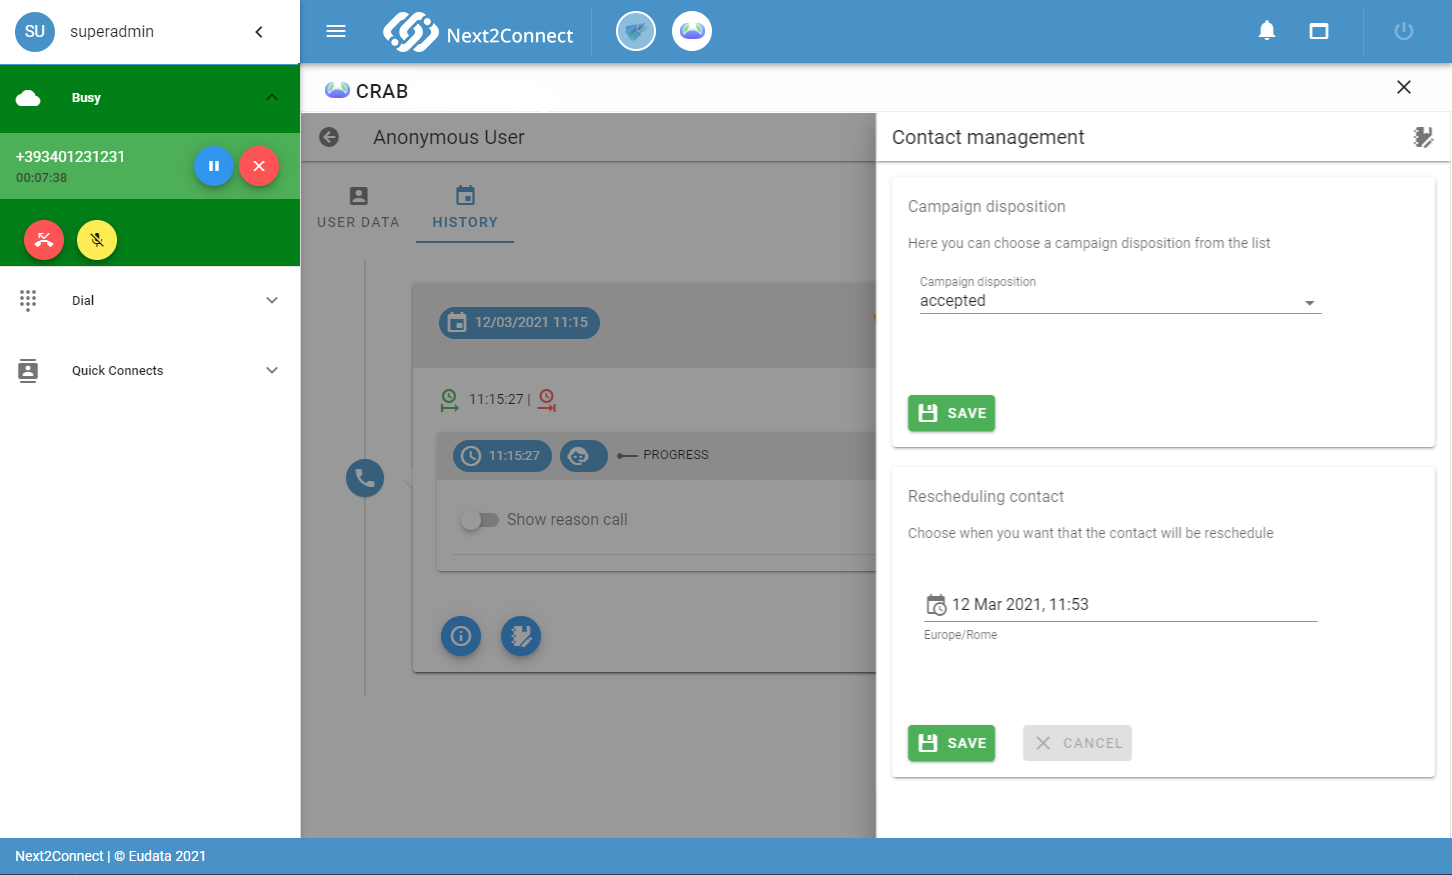
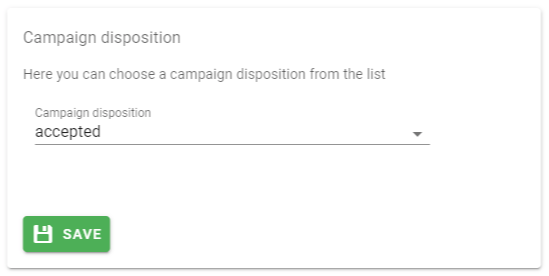
Select the disposition from the list and click Save.
How to Respond to a Push Preview Campaign
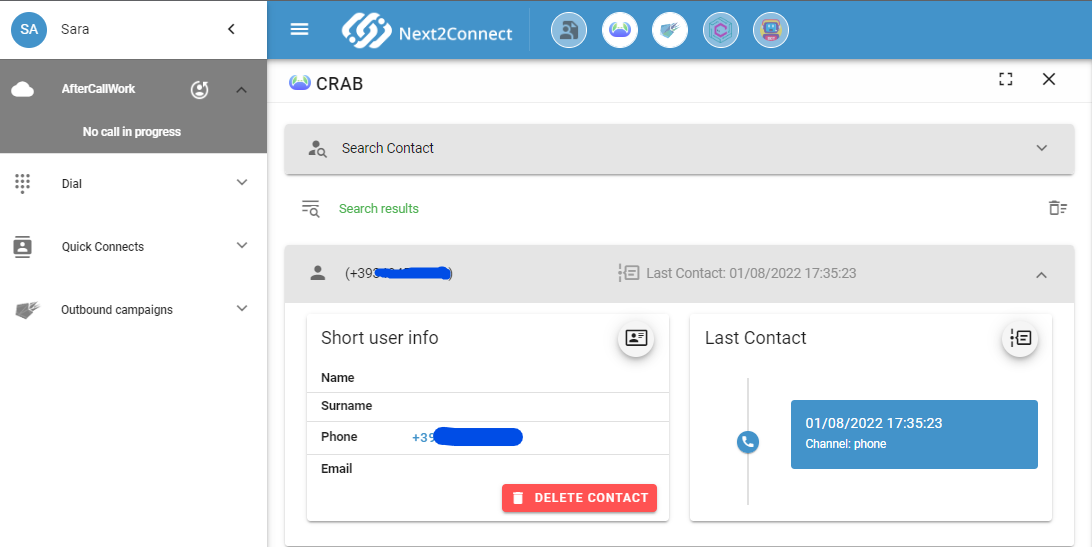
When a Push Preview campaign is active, CRAB manages the agent interaction flow.
After the campaign starts, CRAB analyzes the proposed contact. If the contact is new, it prompts the agent to fill in basic information.
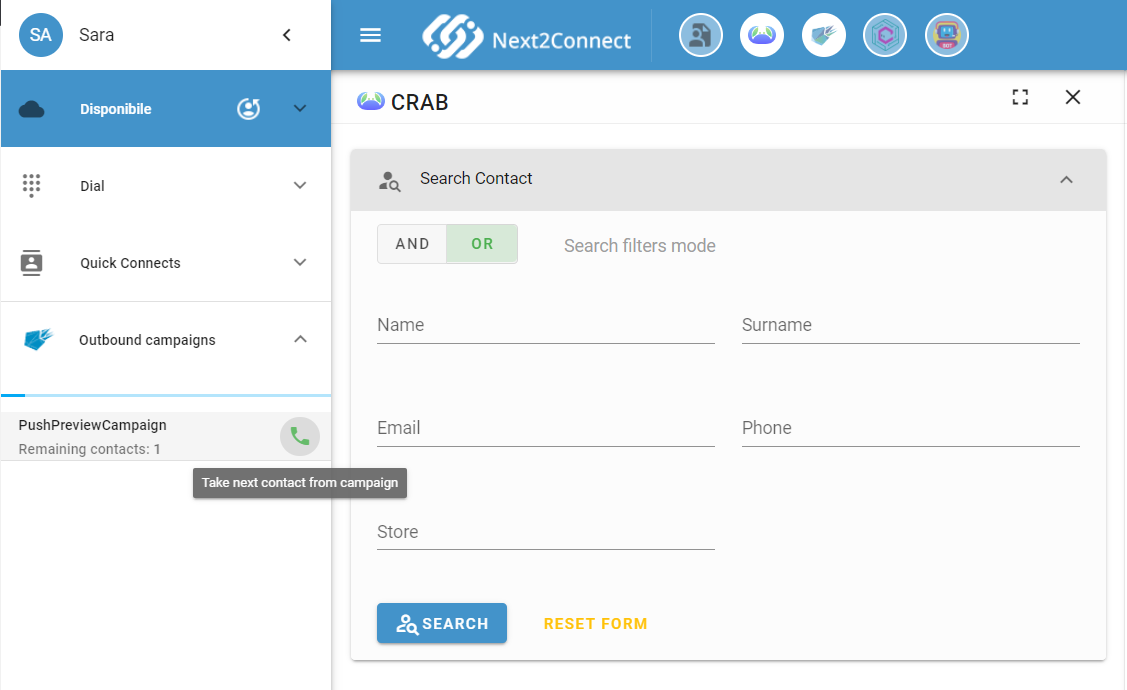
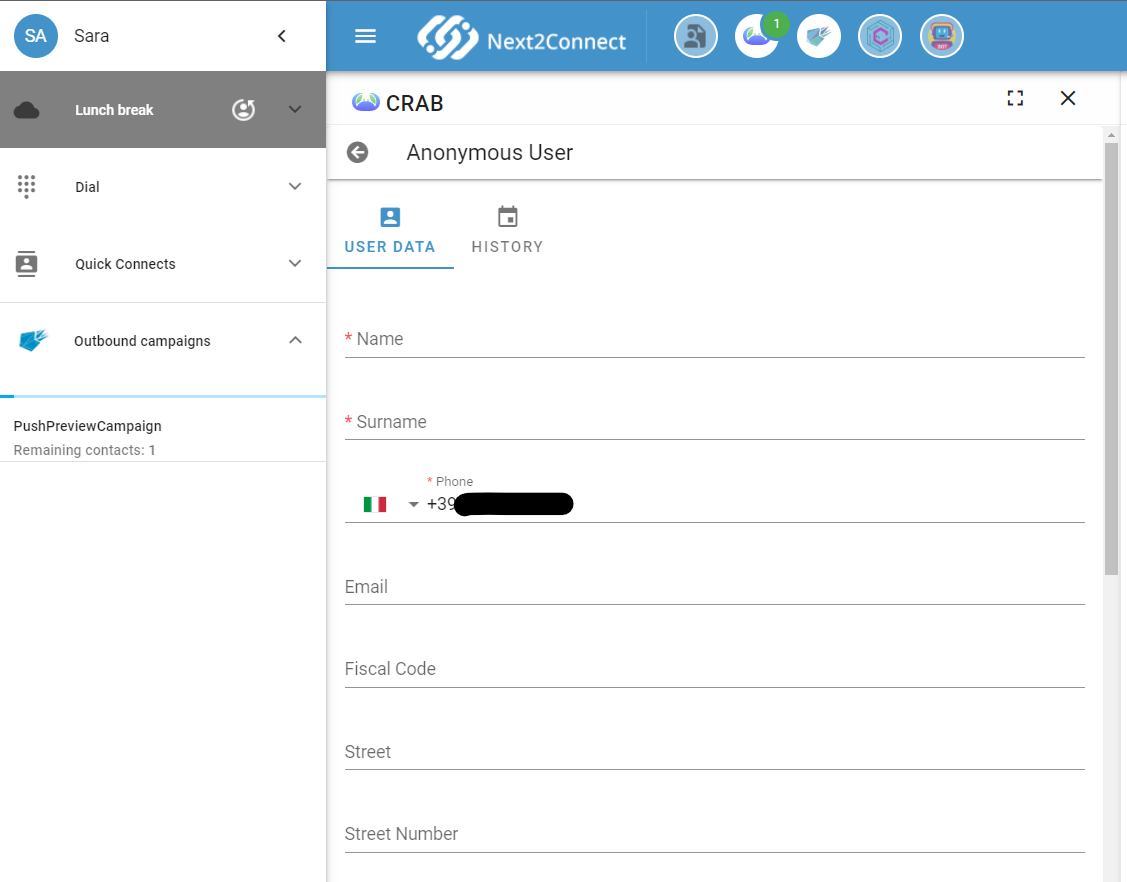
In the contact's History, the agent can accept or reject the contact for this campaign.
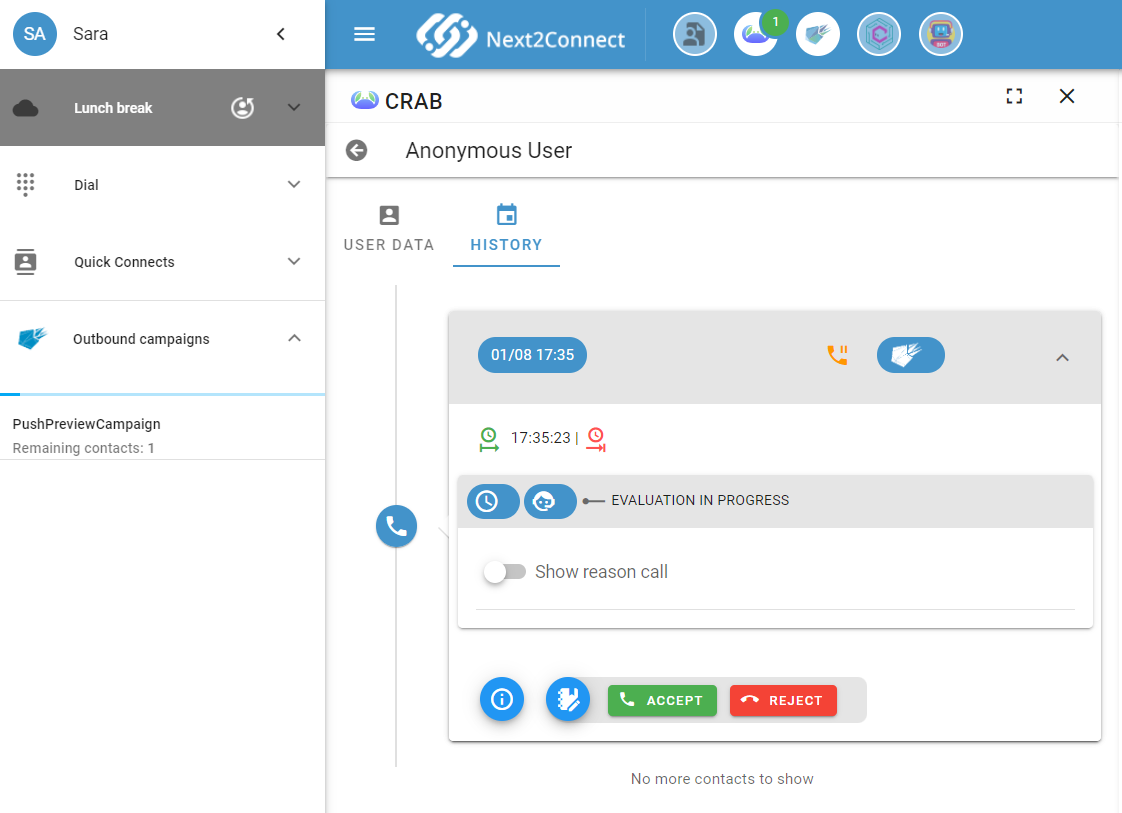
Before confirming, the agent can also set the campaign disposition and schedule a callback.
After the call ends, the agent can review the full call information in the contact record.
How to Reschedule a Contact
During an outbound call or during AfterCallWork, an agent can schedule a callback for the contact at a specific date and time.
In the CRAB Registry gadget, open the contact's History and click Contact Management.
Select the date and time for the callback and click Save.
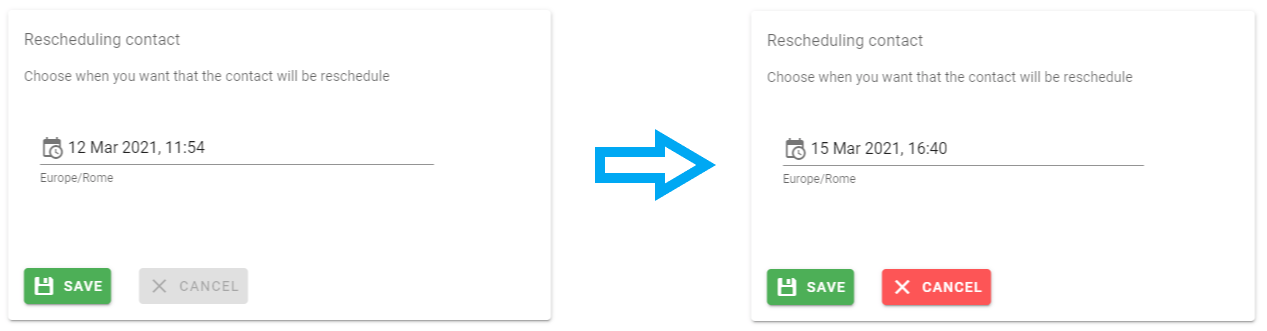
The rescheduling can be cancelled or modified while the call is still active or during AfterCallWork.
How to Set Rules Priority
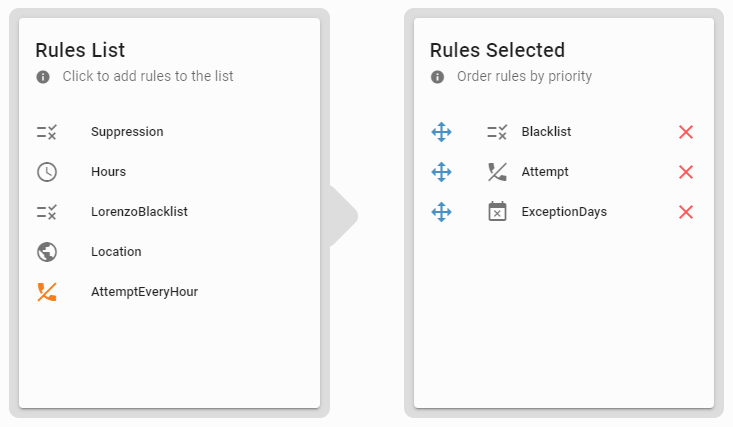
When a list has multiple rules assigned, Comet evaluates them in order, from top to bottom. A contact is called only if all rules are satisfied.
Set the evaluation order by dragging and dropping rules in the Rules Selected panel.
How to Set Campaign Disposition in the Contact Flow
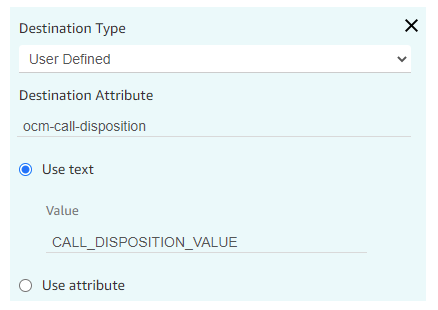
Disposition can be set automatically in the Amazon Connect Contact Flow, without relying on the agent to set it manually. Insert a Set Contact Attributes node at the appropriate point in the flow and configure it as follows:
- Destination Attribute: the name of the campaign disposition value to set
- Value: the disposition label (must match one of the values defined in the campaign)
Call Variables Reference
When Comet initiates an outbound call, it attaches a set of call attributes that can be used inside your Amazon Connect Contact Flow.
System Variables
| Variable | Description |
|---|---|
ocm-campaign-name | Name of the campaign |
ocm-campaign-id | Unique ID of the campaign |
ocm-list-name | Name of the contact list from which the contact was selected |
ocm-campaign-timezone | Timezone value matching the campaign timezone setting |
Contact Variables
Each column in the contact list CSV is mapped to a call variable using the format:
ocm-<field-name>-info
Example: a CSV with columns Name and Phone produces:
ocm-Name-info
ocm-Phone-info
CSV field names may only contain alphanumeric characters, dashes, and underscores. Any other character is automatically replaced with an underscore when the variable name is generated.